Device management
The device management portion of the admin portal provides a centralized way of managing and maintaining the inventory of phones. This guide reviews the following help topics for managing devices with in the admin portal:
View a list of devices
To view the list on all the devices assigned to your site:
- Log in to the admin portal.
- Select your site from the Site drop-down menu in the upper, right-hand corner.
- Select the Devices tab in the left-hand navigation.
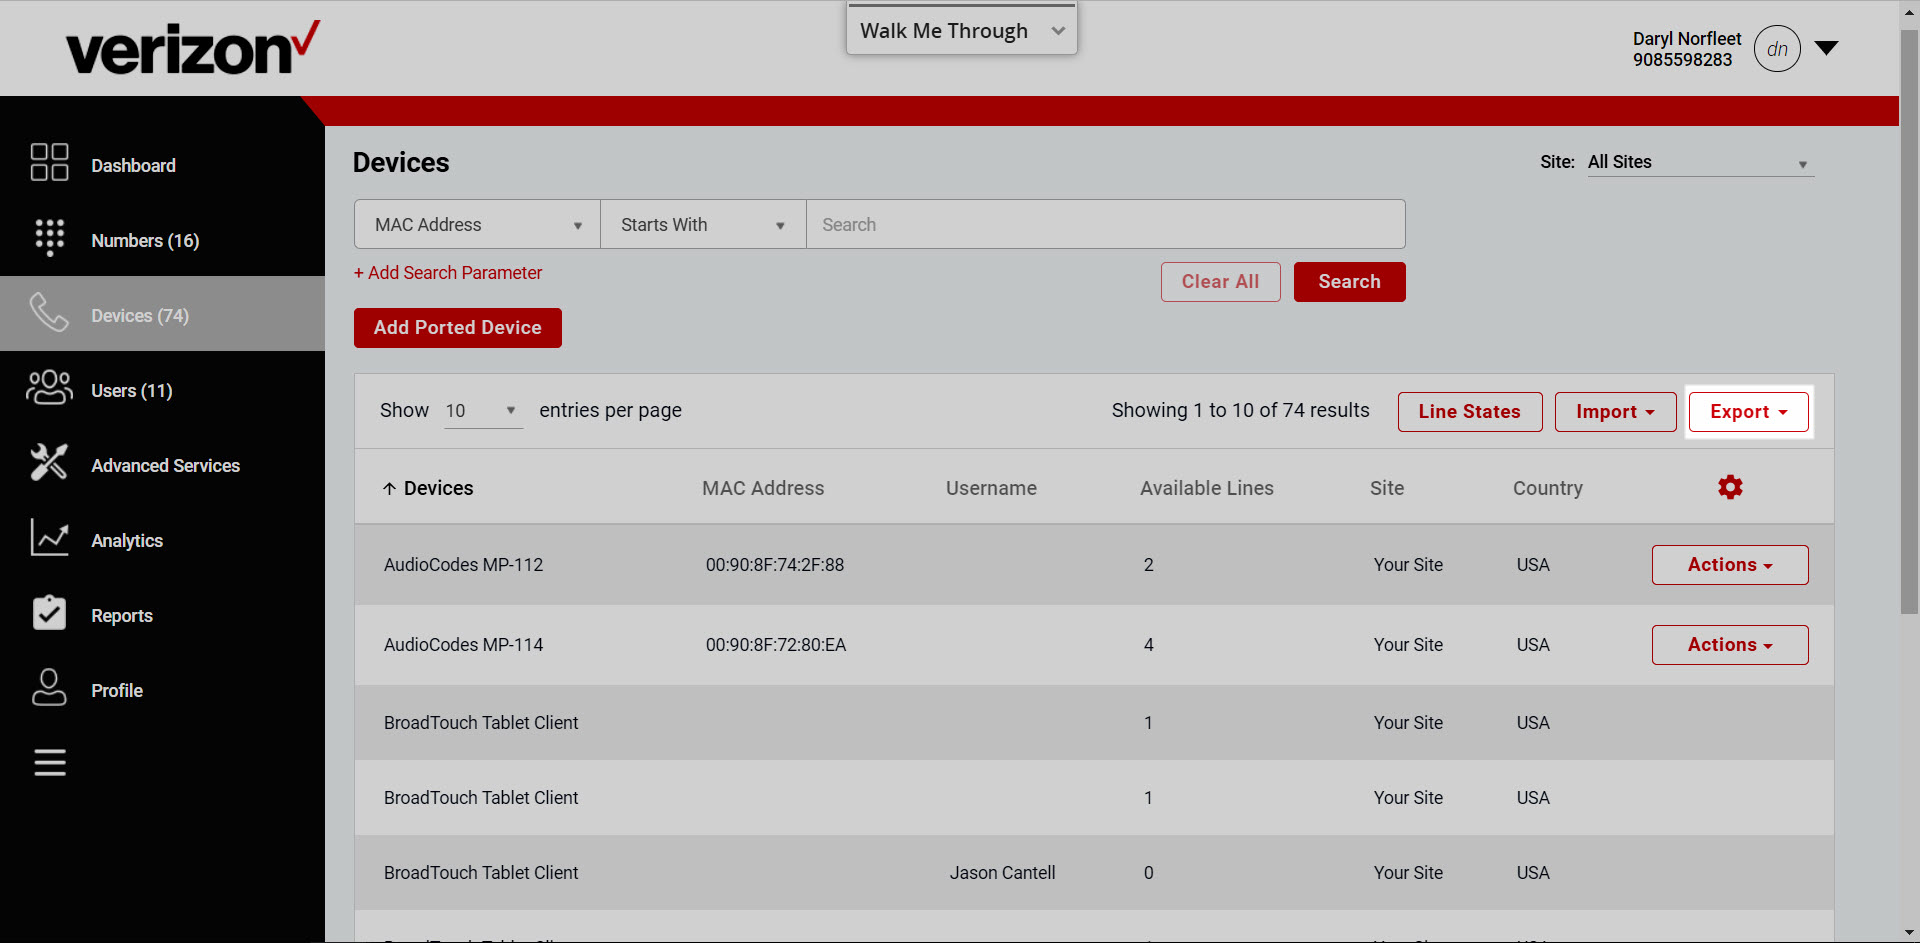
- Devices are organized by Device Type, MAC Address, Username, Available Lines (number of lines available for the device), Site (the site the device is assigned to), and Country.
- Choose Line States to view the list of phone numbers assigned to each of the devices.


View device status and details
From this tab, you can also confirm that a phone is effectively communicating with the network.
- Select the Actions drop-down for the device you would like to verify.
- Choose Device Status. This will perform a status check, and once complete, it will display the status of the phone and whether it is registered, aged or unregistered. A registered status is a positive indication of connectivity, all others indicate some issue with the connection between the phone and the network.

Management of line appearances
Line appearances represent the display of lines on your phone. For example, if you have two line appearances on your phone, with your line listed first and a co-worker’s line listed second, here you can rearrange the order of the lines on the display.
Note: The Shared Call Appearance (also known as Shared Line Appearance) feature must be assigned to the device before you can arrange the lines. To learn how to configure this feature, view the Shared Call Appearance guide.
- Select the Actions drop-down for the device to modify and choose Line Order.
- Choose the line and use the up and down arrows to move the order.
- Select Save to save your changes.
Manually adding or removing a device
To add a device, follow these steps:
- Select Add Ported Device. The Add Ported Device window will appear.
- Choose the site where the device is assigned to in the Site drop-down menu.
- Next, from the Device Type drop-down menu and choose the device you would like to add. Note: You can only choose from the approved devices within your site.
- Enter the MAC address of the device to me added.
- When you are done, select Save. The new device will now show up in your device list.

Export a list of devices
To export a list of all the devices assigned to your site, select Export. This will export the information as a .csv file and will include each MAC address, device type, available lines and site.