

Admin Portal: Call Forwarding
What you need to know
Administrators can enable and modify the call forwarding settings for a user within the admin portal. This can be helpful when troubleshooting for a user or needing to set up forwarding when a user is out unexpectedly.
There are four call forwarding settings that can be enabled for a user:
- Always
- When busy
- When no answer
- Business continuity
Configuring Call Forwarding
- Log in to the admin portal.
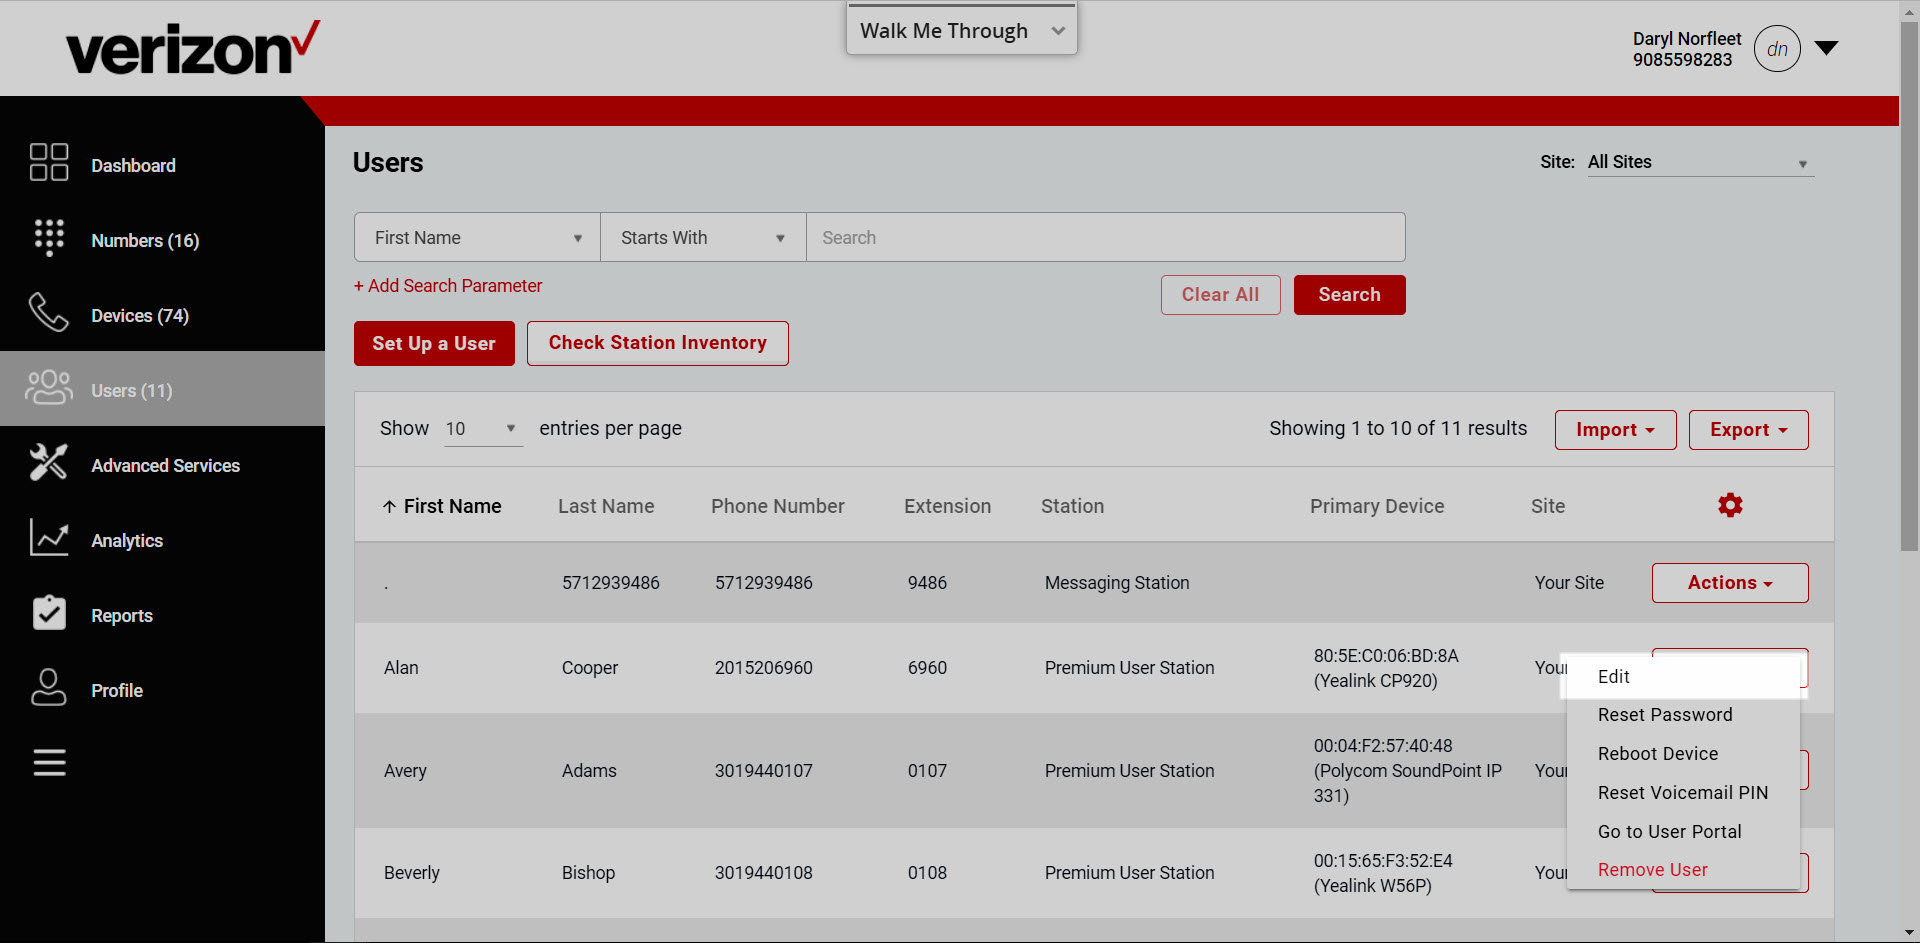
- Go to the Users tab.
- Find the user you would like to modify call forwarding settings for and select the Actions drop-down menu.
- Select Edit.
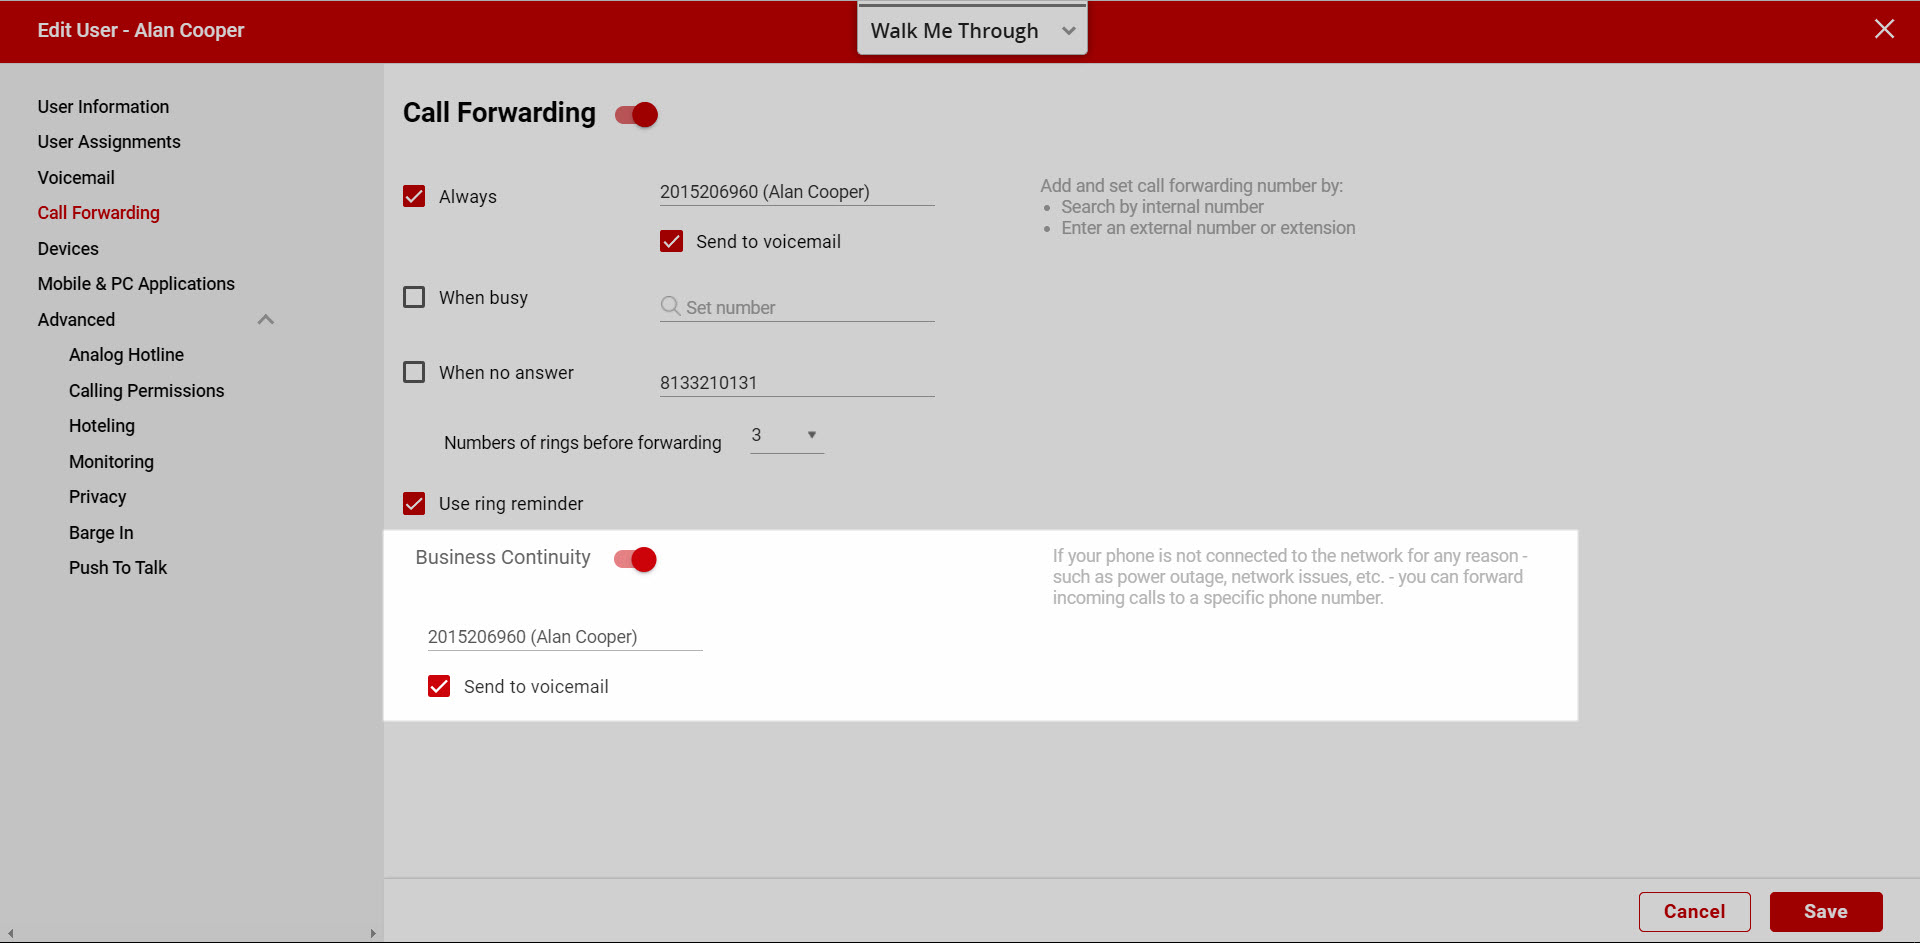
- Select Call Forwarding from the left-hand menu.
- Select the toggle to expand the Call Forwarding settings.
- The following call forwarding settings can be activated and/or modified:
- Always - All calls are forwarded to the phone number entered.
- When busy - Call are forwarded to the number entered when the line is busy.
- When no answer - Calls are forwarded to the number entered when the call exceeds the set number of rings.
- For any of the options above, you can choose to have the calls sent to voicemail by checking the Send to voicemail box. Note: This option can only be if an internal phone number is entered and that number has the voicemail service enabled.
- Once your changes are made, select Save.

Business Continuity
Business Continuity settings are used to forward calls if users cannot be reached. For example, if your office loses network connectivity, Continuity settings will be activated.
- To enable, select the toggle.
- Enter the phone number you would like calls to be forwarded to.
- You can choose to have the calls sent to voicemail by checking the Send to voicemail box. Note: This option can only be if an internal phone number is entered and that number has the voicemail service enabled.
- Select Save to save your changes.
Admin Portal Support