Emergency call notification
The emergency call notification feature supports system-generated emails that are triggered when an emergency call is made with information identifying the caller and address information for the location the caller is assigned to.
The Emergency Call Notification email message is generated and sent at the beginning of an emergency call initiated by a user on an active site and includes the following elements:
- Date and start time of the emergency call
- The dialed digits
- User ID, username, user extension (if assigned), and user phone number (if assigned)
- The name and address of the Site the caller is assigned to
Note: The From: address in the Notification email is a non-editable do-not-reply email address.
Emergency Call Notification features through the admin portal has the following capabilities:
- An administrator can enable or disable email Emergency Call Notifications for a customer. The administrator may enable notification across all site/locations or allow selected site/locations to be enabled as desired. Note: These settings are only visible to the main customer administrator and/or administrators who are accessing the admin portal via CST/SP portal.
- When the system is configured such that email notifications are active for all sites/locations, the administrator must specify a destination email address at the customer level for Emergency Call Notifications. Once specified, this destination email address is used for all Emergency Call Notifications for that customer, except for the case where a site/location has defined a unique destination email address.
- When the system is configured to allow each site to manage Emergency Call Notifications, the notifications must be enabled and a destination email address must be defined at each site/location. If an email is not specified at the site/location level, the Emergency Call Notification will not go out for that site/location.
Company (or enterprise) settings
To enable the Emergency Call Notification feature for the entire company or enterprise, follow these steps:
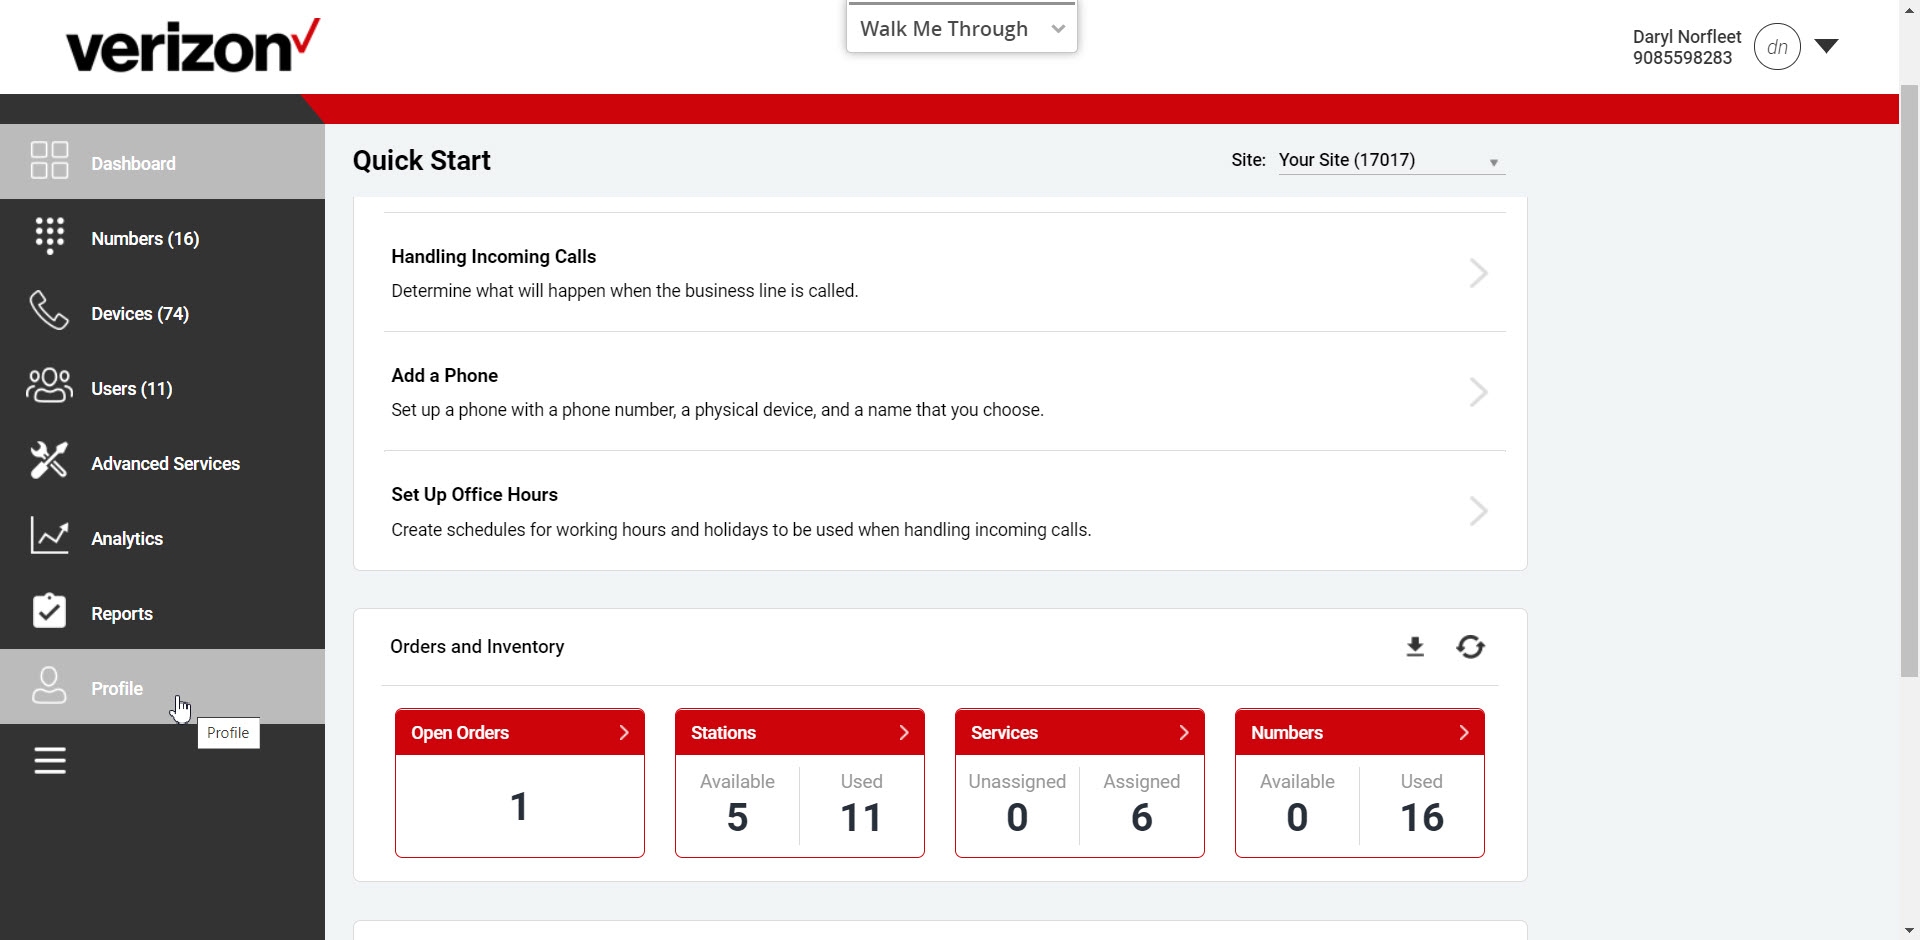
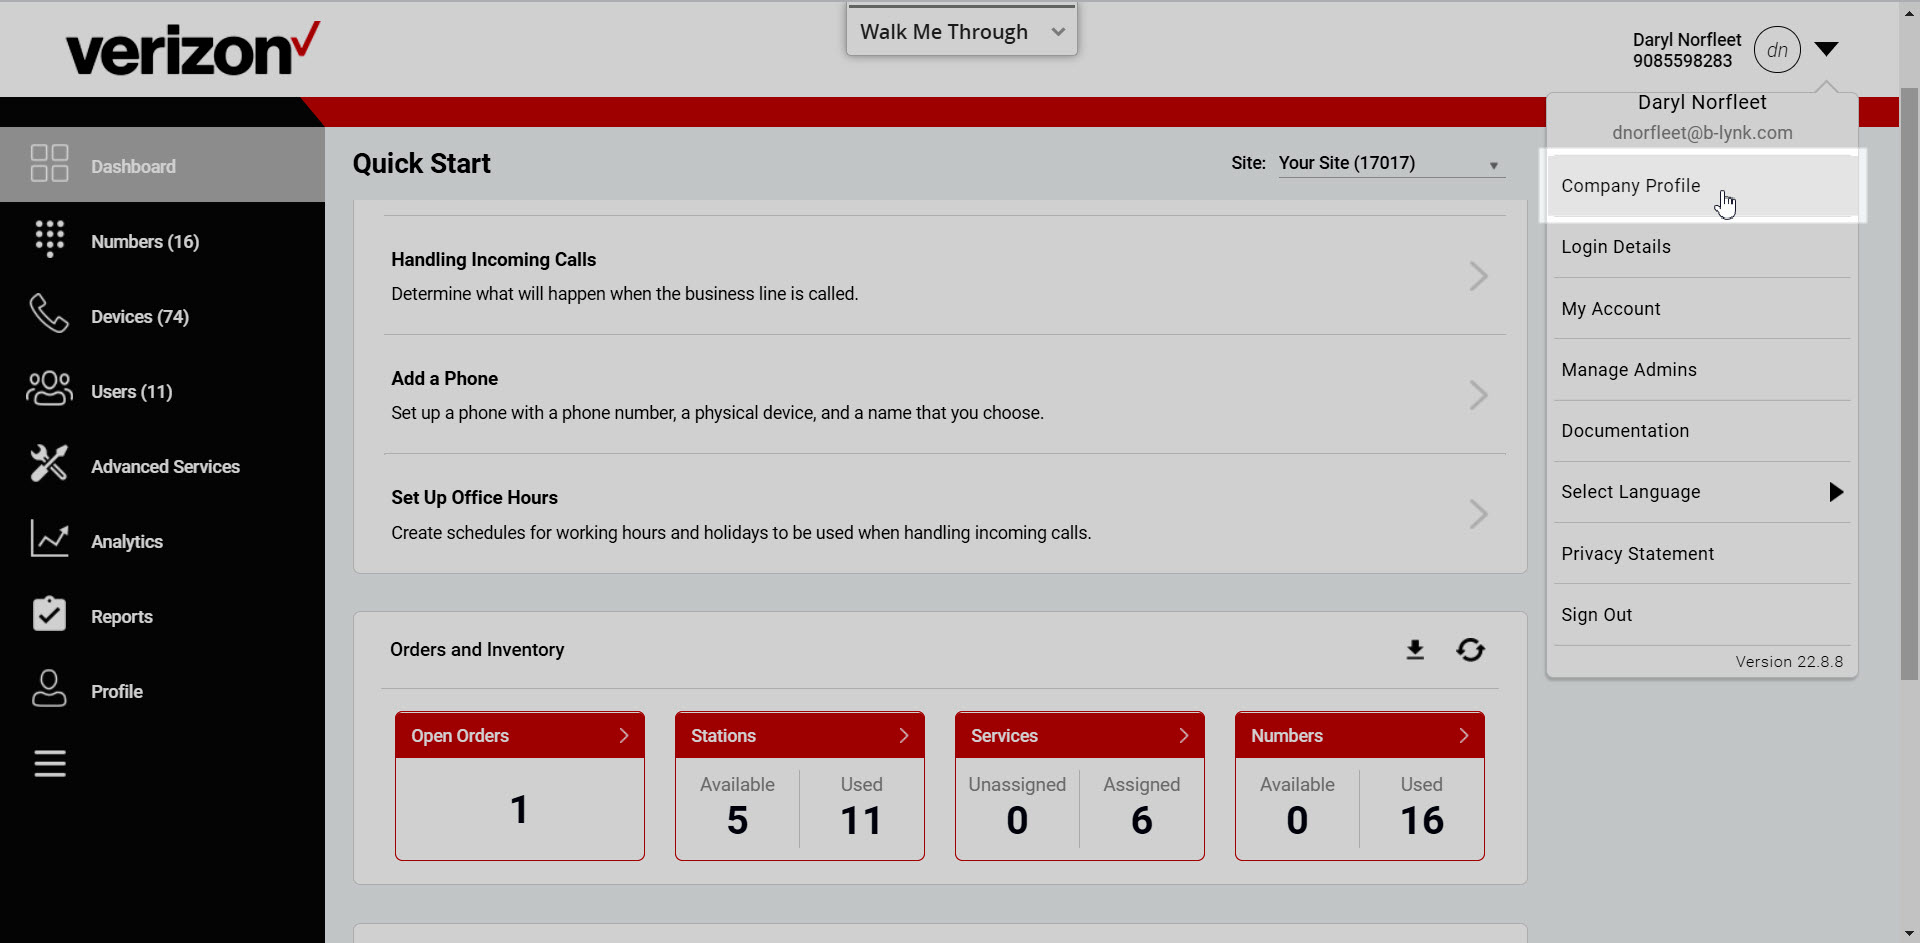
- Log in to the admin portal.
- From the profile drop-down menu in the upper, right-hand corner select Company Profile.
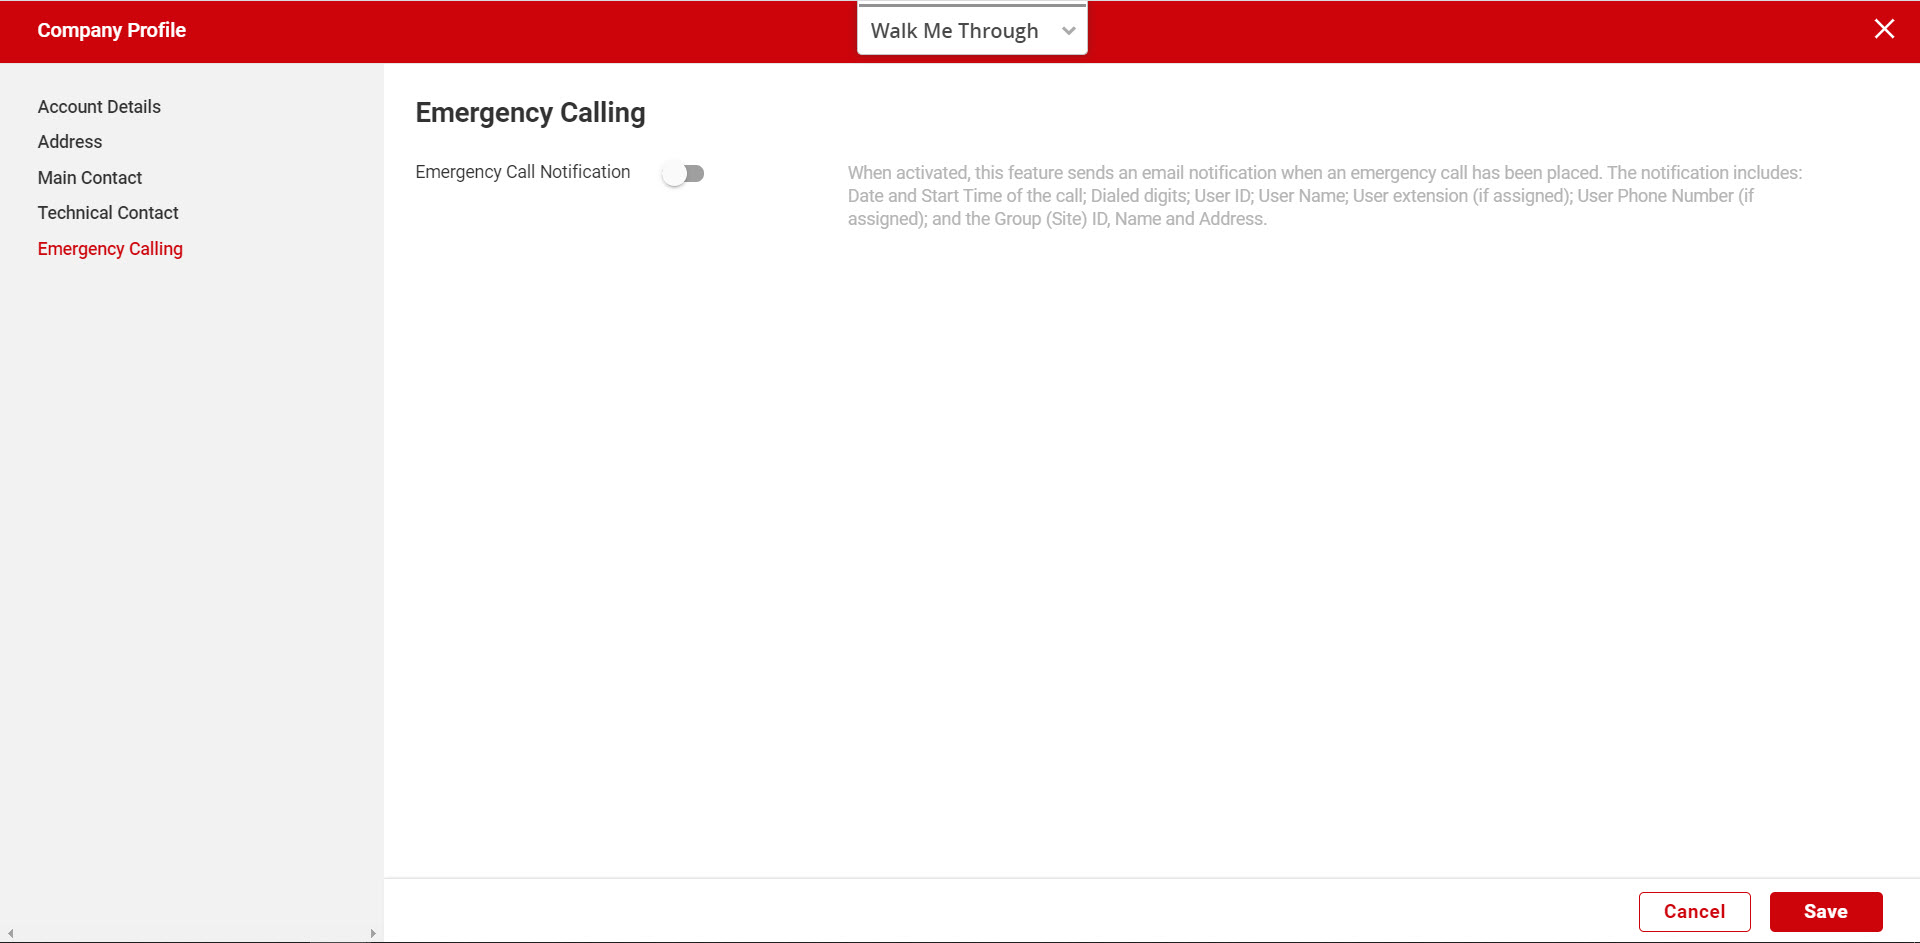
- Select Emergency Calling from the left-hand navigation.
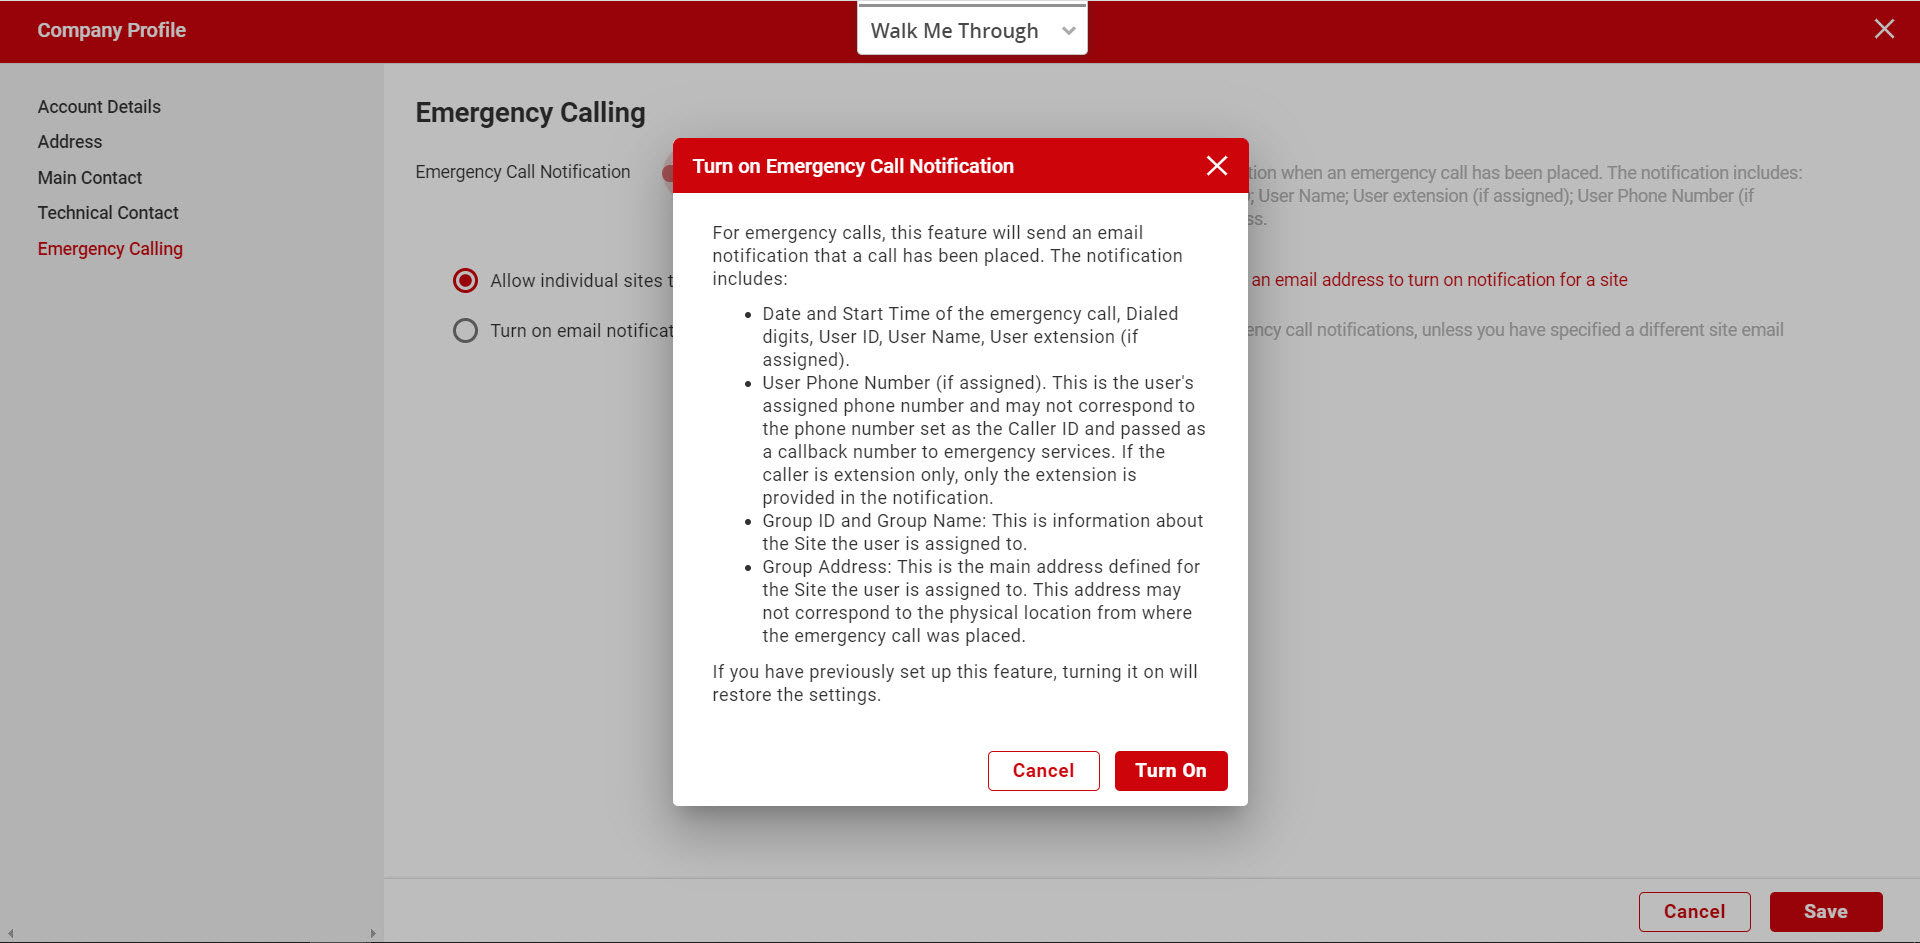
- Select the toggle to enable. You will receive the following pop-up. To enable, select Turn On.
- Once enabled, the following options will appear:
- Allow individual sites to turn on notification - This is automatically selected when an email is not turned on at the customer level. Choosing this option allows you to enable/disable at a site level. Go to the Profile tab, from the admin portal dashboard, and specify an email address to turn on notifications for the site.
- Turn on email notifications for all sites - If this option is selected, enter the email address to send notifications to. This email will be used for all emergency call notifications, unless you have specified a different site email address in the Profile section.

- Select Save to save your changes.
Site settings
You may want to enable or disable the Emergency Call Notification feature for a specific site. Or, change the default email address where the notifications are sent for a specific site. This is performed on the Profile tab for a specific site within the admin portal. To locate and configure, follow these steps:
- From the dashboard of the admin portal, choose the site/location where you would like to view or modify the email address in the Site drop-down menu.
- Select Profile from the left-hand navigation menu.
- On the Contact Info tab, under Emergency Call Notification, you can configure the feature settings at the site level.
- If an email address is entered in the Company Profile settings, you will see the following options:
- Use default setting (email address) - If this option is selected, notifications will be sent to the email address defined at the company level.
- Use a different email address - If this option is selected, enter the email address you would like notifications sent to.

- If the Allow individual sites to turn on notification option is selected in the Company Profile settings, you will see the following options:
- Use default setting (do not notify)
- Use a different email address - If this option is selected, enter the email address you would like notifications sent to.

- Make your selections and select Save to save your changes.