


Admin portal: Group paging
Group paging example
Feature prerequisites
Group paging business rules and feature interaction
Log in
Configure group paging
Group paging
The Group Paging service allows a user to set up a one-way call to a group of up to 75 target users by dialing a number or extension. The Group Paging service makes a simultaneous call to all the assigned targets and announces to the originator that the system is ready for paging. After speaking, the originator ends the page by hanging up the call.
The site administrator must configure both the targets/recipients of a page and define the list of users that are eligible to receive the page. Configurable options include:
- Assigning the number and extension for the Group Paging service.
- Group Page name for easy identification on the dashboard.
- First name and last name for the Group Paging caller ID and enterprise directory listing.
- The caller ID labels - The number that a target receives when the page is initiated. This can be set to either the number for the paging group or the actual originator of the page.
- Paging targets - The list of targets for the page. The maximum number of targets for a single paging group is 75 targets. The eligible targets are any user within the enterprise. External numbers or other group services, such as Auto Attendants or Hunt Groups, cannot be assigned as paging targets.
- Paging originators - The list of originators for the page. Any user within the enterprise can be assigned as an originator of a page. External numbers and other group services, such as Auto Attendants or Hunt Groups, cannot be assigned as paging originators.
Group paging example
- A caller in the paging originators list calls a Group Paging phone number.
- The Group Paging service sets up a simultaneous call to all of the users in the paging targets list.
- The target phones automatically answer the call and receive an announcement of "Paging."
- The paging originator is prompted with the "Paging System Ready" announcement.
- The paging originator speaks to the targets and ends the page by hanging up.
Feature prerequisites
Before the Group Paging service can be used, the following conditions must be met:
- A DID must be assigned to the Group Paging service and be active.
- The service must be activated.
- At least one paging target must be assigned.
- At least on paging originator must be assigned.
Group paging business rules and feature interaction
- A user can be assigned as both a paging target and paging originator in a paging group.
- If a user is not on the phone, the call from a group page is automatically answered and the target hears a "Paging" announcement to alert them they are receiving a page.
- If a target is on a call, the page is not automatically answered. If a target chooses not to answer the page, the group paging call will not forward to the target's voicemail.
- If a target has Do Not Disturb enabled on his or her phone, he or she is not called by the Group Paging service.
- Redirection of a Group Paging call is disabled. If a target has Call Forwarding services enabled, the Group Paging call will not forward to the configured Call Forwarding destination.
- If a target has Office Anywhere or Simultaneous Ring enabled, the configured destination service will not be called by the Group Paging service.
- When the page is set up to the targets, the originator receives a "Paging System Ready" announcement alerting them to begin speaking.
- The group page is a one-way audio service. The paging originator has a one-way talk path to the paging targets. The paging targets do not have a talk path to each other or to the paging originator for the duration of the page.
Log in
- Log in to the admin portal and select your site from the Site drop-down menu.
- Select Advanced Services from the left-hand navigation.
- Then select Group Paging under Productivity Services.

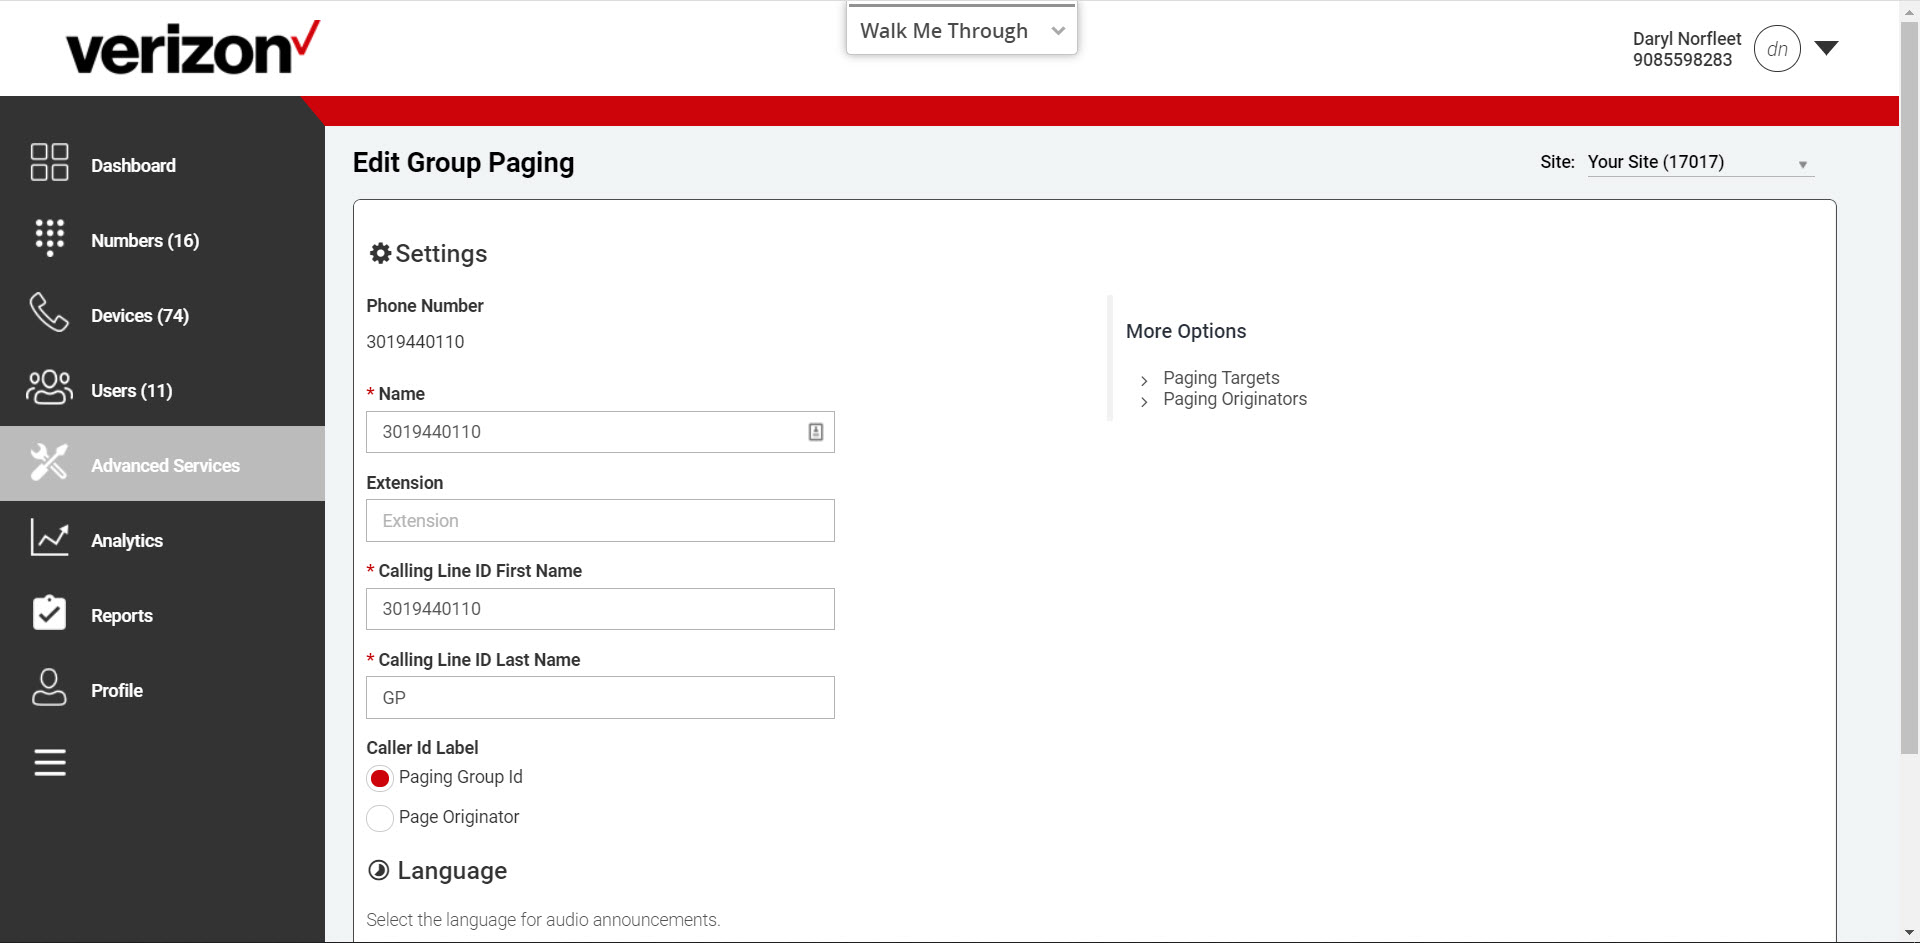
Configure group paging
- Find the group paging number you’d like to configure and select the Actions drop-down menu. Then select Edit Service. The Edit Group Paging page will appear.
- Assign a name in the Group Name field, if applicable.
- Edit the Extension, if applicable.
- Edit the First Name and Last Name, if applicable.
- Change the Caller Id label option, if applicable.
- Select Save.
- Select Paging Targets under More Options.
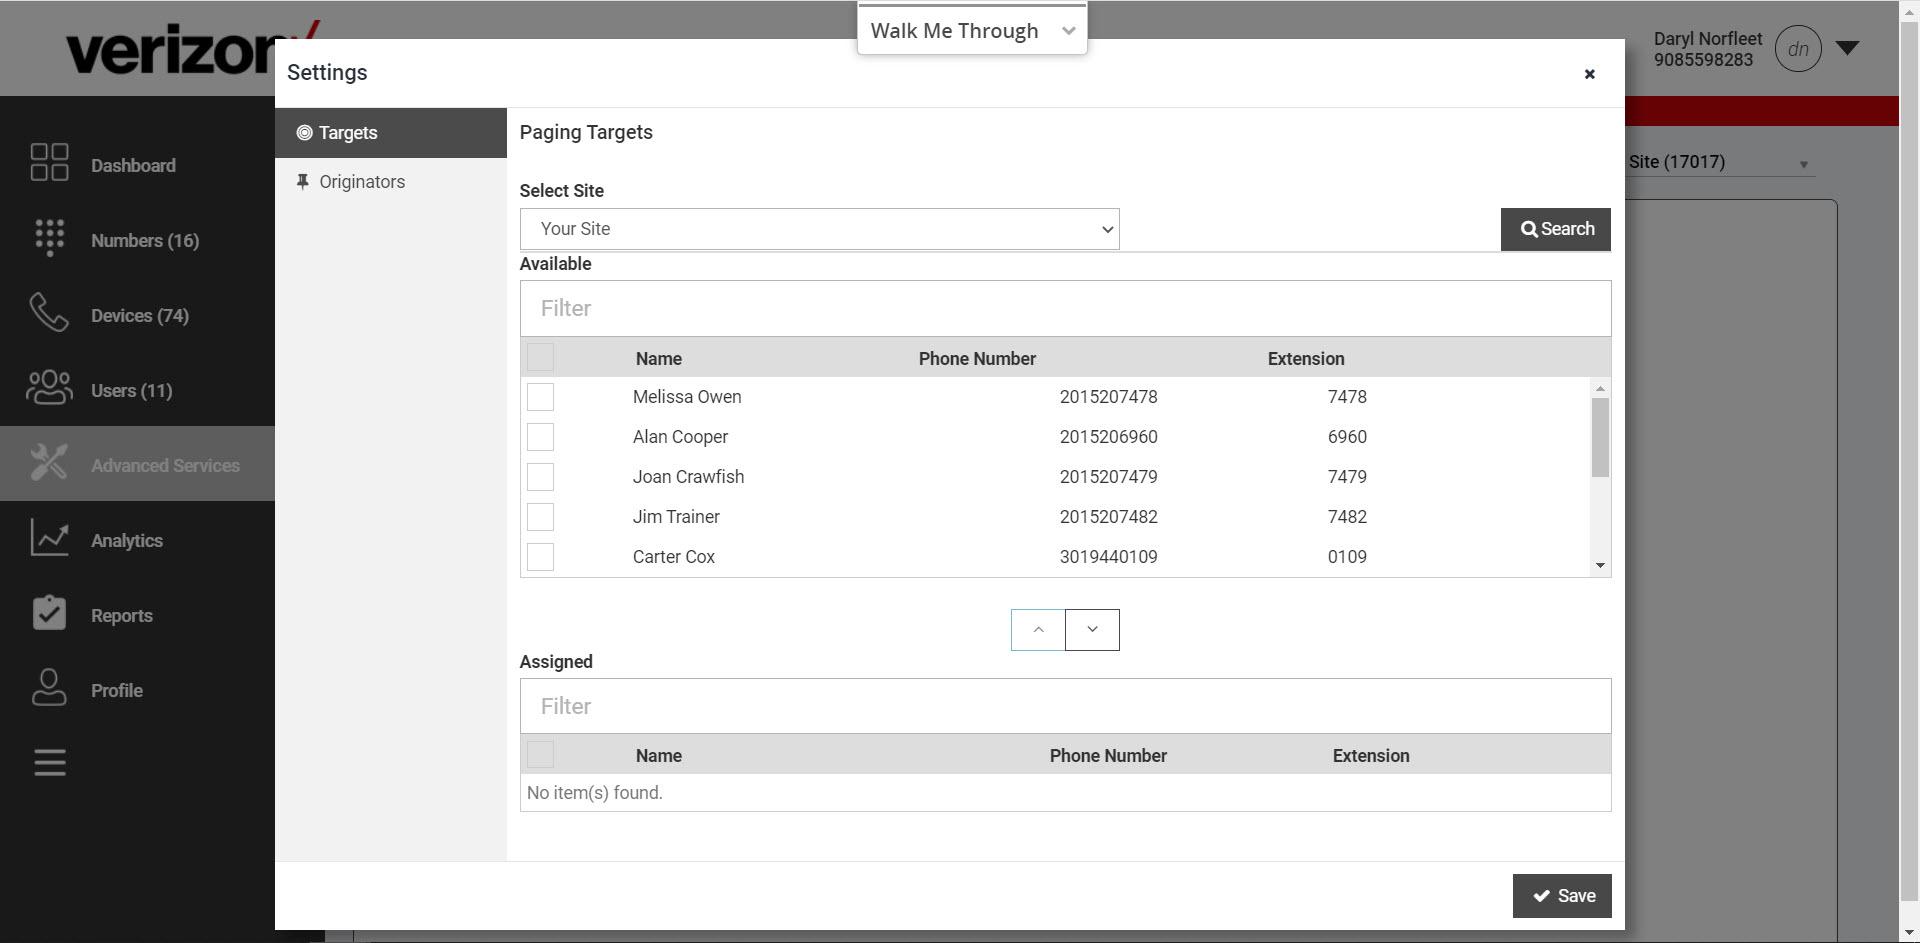
Paging Targets
- Select Paging Targets.
- Filter by site, if applicable.
- Select a user in the Available list.
- Then use the right/left arrows to move to the Assigned list.
- Click Save.
Paging Originators
- Select Paging Originators under More Options.
- Filter by site, if applicable.
- Click on a user in the Available list.
- Then use the right/left arrows to move to the Assigned to Group list.
- Click Save.
