


Yealink DECT phone user guide
This guide reviews the basic functions of a Yealink DECT phone and applies to models W56P, W60P, and W76P. All three models (W56P, W60P, and W76P) can house multiple accounts and handsets. However, the number depends on the Yealink model and if it is provisioned for your phone.
- Yealink W56P – up to 5 lines/handsets
- Yealink W60P – up to 8 lines/handsets
- Yealink W76P – up to 10 lines/handsets
Placing a call
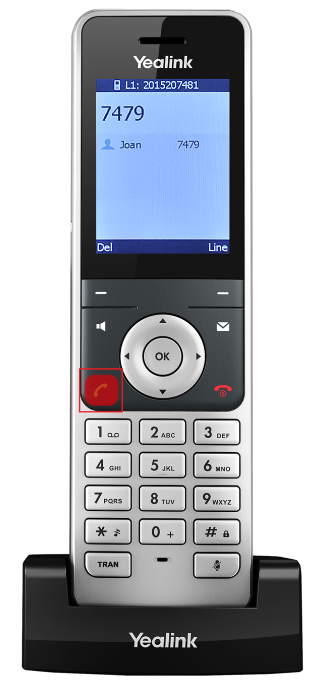
To place a call:
- Dial the number using the Keypad.
- Press the Call key.
Placing a call on hold
To place a call on hold:
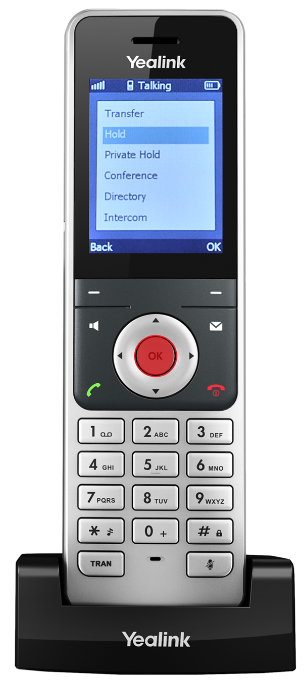
- When on an active call, press the Options softkey.
- Use the Down arrow to select Hold.
- Press OK.
- To resume the call, press the Resume softkey.
Conducting a blind transfer
A blind, or unannounced, transfer is when you transfer a call to someone else without announcing the call first. To conduct a blind transfer, while on an active call:
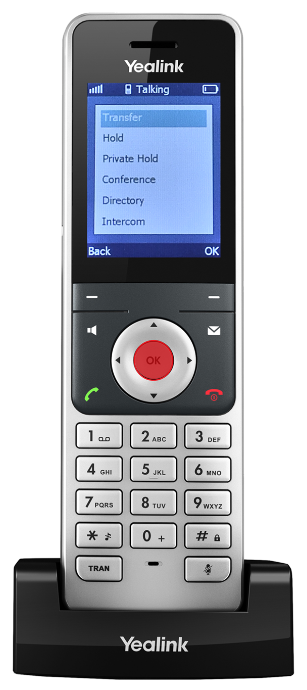
- Press the Options softkey.
- Select Transfer.
- Press OK.
- Enter the extension or phone number to where you want to transfer the call.
- Press the Transfer softkey.
Conducting a consulted transfer
A consulted, or announced, transfer is when you announce the call to the recipient prior to transferring the call. To conduct a consulted transfer, while on an active call:
- Press the Options softkey.
- Select Transfer.
- Press OK. The caller is automatically placed on hold.
- Enter the extension or phone number to where you want to transfer the call.
- Press OK.
- Once the receiving party answers, announce the call.
- To complete the transfer, press the Transfer softkey.
Conducting a direct-to-voicemail transfer
A direct-to-voicemail transfer is conducted when you’d like to transfer a caller directly to someone’s voicemail. To conduct a direct-to-voicemail transfer, while on an active call:
- Press the Options softkey.
- Select Transfer.
- Press OK. The caller is automatically placed on hold.
- Enter *55.
- Enter the extension or phone number to where you want to transfer the call.
- Press the Transfer softkey.
Initiating a conference call
To initiate a conference call, while on an active call:
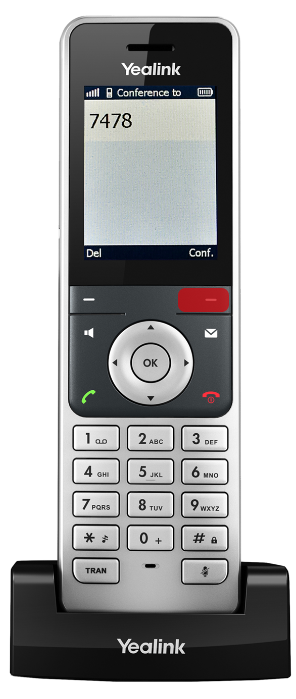
- Press the Options softkey.
- Select Conference.
- Enter the extension or phone number of the person you’d like to call.
- Press OK.
- When the second party answers, press the Conference softkey to connect the calls.
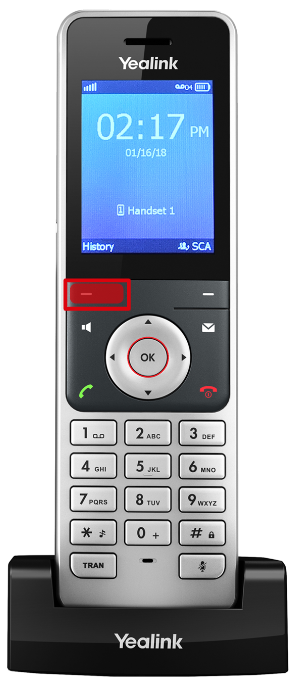
Accessing call history
To access the call history:
- Press History softkey.
- Use the arrows to choose - All Calls, Missed Calls, Placed Calls, or Received Calls.
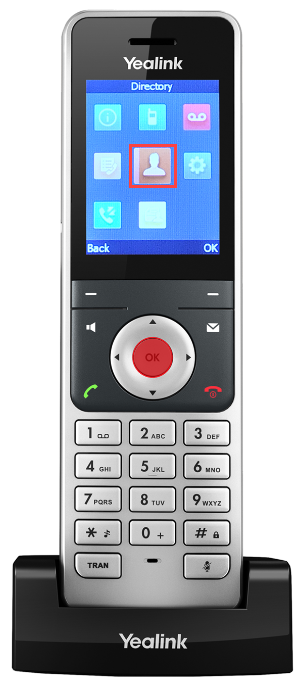
Searching contacts in the directory
To search for a contact in the phone’s directory:
- Press OK.
- Use the arrows to select Directory.
- Press OK.
- Press the up arrow to go to the Search bar.
- Use the keypad to enter the name or phone number you would like to search.
- When the name or number appears, use the arrows on the keypad to select it.
- Press the Call key to place a call to that contact.
- Or, press OK to view the contact details.
- Press Options to Edit, Edit Before Call, or Delete the contact.
Adding contacts to the directory
To add a group and a contact to your local directory:
- Press OK.
- Use the arrows to select Directory.
- Press OK.
- Press Options.
- Use the down arrow to select New Contact.
- Press OK.
- Use the keypad to enter the necessary information.
- Press the Save softkey.
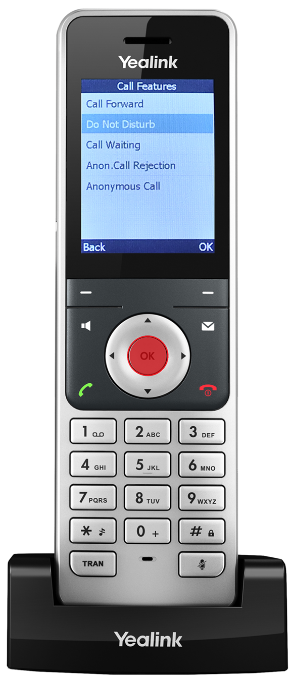
Enabling do not disturb
To enable do not disturb (DND):
- Press OK.
- Use the down arrow to scroll to Call Features.
- Press OK.
- Use the down arrow to scroll to Do Not Disturb.
- Press OK.
- Select the name of the handset and press OK.
- Use the right or left arrows to scroll to Enabled or Disabled.
- Press Save.
If enabled, the DND icon appears on the homescreen.
Enabling call forwarding
By default, calls that are not answered go to voicemail. To forward calls to a destination other than voicemail, you can enable call forwarding:
- Press OK.
- Scroll to Call Features.
- Press OK.
- Select Call Forward.
- Select the type of forwarding option you’d like to enable:
- Always - Forward all incoming calls to a specified forward-to destination.
- Busy - Forward calls when DND is enabled or if your line is busy.
- No Answer - Only forward calls that you do not answer.
- Press OK.
- Use the right and left arrows to enable or disable the forward option.
- Enter the phone number where you’d like these calls forwarded.
- Press the Save softkey.
Making an intercom call
To make an intercom call:
- Press OK.
- Use the arrow to scroll to Intercom.
- Press OK.
- Use the arrows to select the line to intercom with.
- Press OK.
Setting up voicemail
To set up your voicemail for the first time:
- Press the Messages key.
- Enter your default passcode, followed by pound (#).
- The system prompts you to enter your new passcode. Enter your new passcode, followed by pound (#).
- Confirm your new passcode, followed by pound (#).
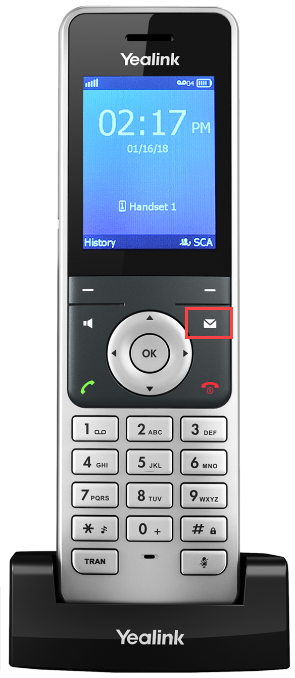
Accessing voicemail
To check your voicemail:
- Press the Messages key.
- When prompted, enter your passcode, followed by pound (#).
- Follow the audio prompts to retrieve your voicemail messages.
Assigning incoming lines
By default, each handset paired to the base, can make or receive calls on all lines. You can assign specific, incoming lines to ring to your handset. That way, your handset only rings for the incoming lines you’ve assigned. To assign incoming lines from your handset:
- Press OK.
- Select Settings.
- Select Telephony.
- Select Incoming Lines.
- Enter the default system PIN: 0000
Note: Contact your administrator if this PIN does not work.
- Press the Done softkey.
- Here is a list of the handsets registered to the base unit. Your handset is highlighted.
- Use the navigation arrows to highlight the desired handset.
- Press the OK softkey.
- Press Save to accept incoming calls from this line.
- Press Back to go back to the previous menu.